How Toy Placement Encourages Rolling from Back to Tummy
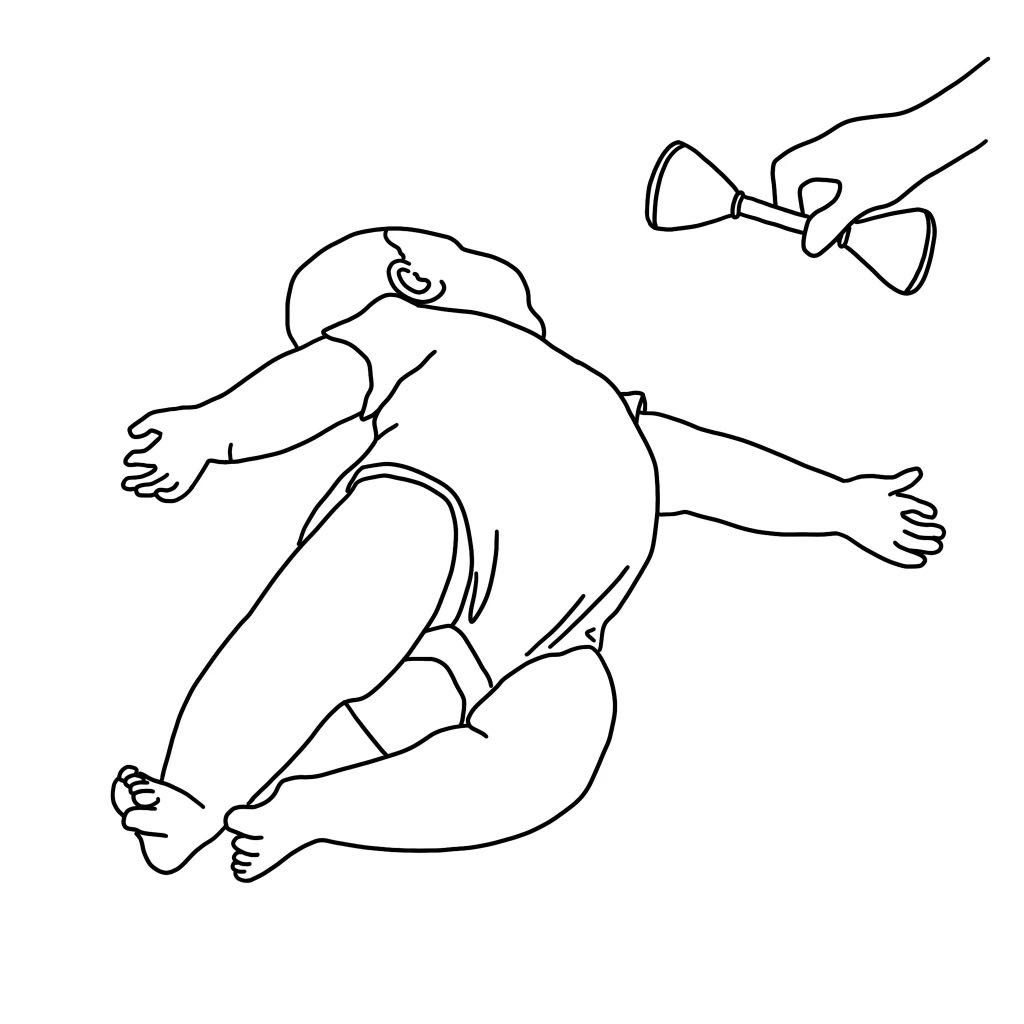
Quick Answer: Rolling from back to tummy develops in a "top down" pattern, starting with head turning followed by trunk elongation, arm reaching, and legs swinging over. Encourage this progression by holding a toy about 9 inches from your baby's face, then slowly moving it up and to the side to a 10 or 2 o'clock position. Your baby should visually track the toy, turn their head, look up, and elongate their trunk to follow it. This head and trunk movement is the foundation for rolling. Pause to allow your baby time to respond and reach for the toy. You can practice this visual tracking with babies around 3-5 months.
Understanding how rolling develops and why specific toy placement works helps you support this milestone more effectively.
How Does Rolling Develop?
Rolling follows a predictable developmental sequence that moves from head to feet.
Rolling isn't a single skill but a progression of movements that build on each other. The sequence typically goes: turning head to the side while lying on back, looking up and back while turning head, arching and elongating the trunk on one side, reaching across the body toward the side, lifting one leg and allowing it to fall across the body, and finally lifting their head up to the side and completing rolling from back to tummy.
Each stage prepares for the next. Babies who can't yet turn their head fully to track objects aren't ready to practice the trunk elongation that comes next. Babies who can turn and elongate but haven't started reaching across their body aren't quite ready to roll completely.
The "top down" pattern means development starts at the head and moves toward the feet. Head control and neck strength come first. This is why focusing on head turning and visual tracking is so important for rolling development.
Why Does Toy Placement at 10 or 2 O'Clock Work?
The specific positioning of the toy triggers the exact movement pattern needed for rolling.
When you place a toy up and to the side at a 10 or 2 o'clock position, your baby must turn their head and look up and back to see it. This head position naturally causes trunk elongation on that side of the body. The elongation creates the arch and stretch that initiates the rolling movement.
Toys placed directly to the side at 3 or 9 o'clock don't create this same effect. Your baby can turn their head to see toys at these positions without looking up or arching their trunk. This side-looking doesn't trigger the rolling sequence.
Toys placed too high above your baby's head (12 o'clock) also don't work well because babies can look straight up without turning their head to the side. The combination of turning and looking up is what matters.
The 10 and 2 o'clock positions create the perfect combination of head turning and looking up that triggers trunk elongation and sets up the rolling movement pattern.
How Do I Practice This Technique?
Start with your baby lying on their back on a firm, flat surface like a play mat on the floor. Make sure they're content and alert, not fussy or tired.
Choose a toy your baby finds visually interesting. High-contrast toys, toys that make sounds, or your baby's current favorites work well. The toy should be engaging enough that your baby wants to keep looking at it as it moves.
Hold the toy about 9 inches from your baby's face at their midline, directly above their chest. Shake it gently or make sounds to capture their attention. Wait until your baby establishes eye contact with the toy and focuses on it.
Slowly move the toy in an arc up and to the left to a 10 o'clock position, or up and to the right to a 2 o'clock position. Move the toy all the way down toward floor level on that side. The path should be a smooth arc from center-up-to-side-down.
Watch your baby's response. They should turn their head to follow the toy, look up and back, and elongate their trunk on that side. You might see them arch slightly as they track the toy down toward the floor.
Pause when the toy reaches the side position. Give your baby time to respond. They might reach for the toy, which further encourages the rolling movement. Don't rush to the next step. This pause allows your baby to process and potentially initiate movement.
Encourage reaching by shaking the toy or making sounds while pausing. The reaching motion often triggers the next stage of rolling as your baby tries to grab the toy.
Repeat on both sides, practicing visual tracking to both 10 and 2 o'clock positions. This ensures balanced development and prevents favoring one side.
What Progression Should I Expect?
Rolling development happens gradually.
Initially, your baby will just turn their head to track the toy without much trunk movement. This head turning is the first important step. Continue practicing even though rolling isn't happening yet.
After some practice, you'll notice your baby beginning to elongate their trunk as they track the toy. One side of their body stretches while the other side compresses. This trunk elongation is crucial preparation for rolling.
Your baby will start reaching toward the toy with the opposite arm (reaching with left arm when head turns right, or vice versa). This reaching across the body adds momentum that helps with rolling.
Eventually, their leg will lift and fall across their body as your baby reaches. This leg movement combined with the trunk elongation, reaching, and lifting with their head creates the complete rolling motion.
Some babies suddenly put all the pieces together and roll completely after days or weeks of practice. Others show gradual improvement through the stages over several weeks.
When Should I Practice This?
This technique works best for babies around 3-5 months old who show interest in rolling but haven't mastered back to tummy rolling yet. Babies younger than 3 months typically don't have the necessary head control and strength.
What Else Supports Rolling Development?
Ample floor time allows babies to practice the movements freely without the constraints of seats or containers. Make floor time a primary part of your baby's day.
Tummy time builds the upper body strength needed for the pushing and reaching movements involved in rolling. Continue regular tummy time even while working on back to tummy rolling.
Side lying play (as covered in a previous post) familiarizes babies with the positions they pass through during rolling.
Alternating which side you practice encourages balanced development. Some babies naturally prefer rolling to one side, but practicing visual tracking in both directions helps prevent strong side preferences.
Frequently Asked Questions About Rolling Development
Q: When do babies typically roll from back to tummy? Most babies roll from back to tummy between 4-6 months, though some do it earlier or later. It usually comes after rolling from tummy to back.
Q: My baby only wants to track to one side. What should I do? Continue offering toys on both sides but don't force it. Some babies have side preferences. If the preference is strong and persistent, mention it to your pediatrician.